Are you intimidated by the prospect of building the right skincare routine? It’s understandable; there are countless options out there, all claiming to be the best option for those with acne, and it can be hard to determine which one is the best choice for you. Should you opt for a 12-step Korean beauty routine? Or is simpler better? What kind of products will do the most good for your skin?
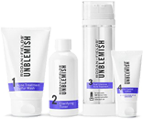
Never fear, this article is all about how to build the ideal skincare routine with just three basic steps. After reading this post, you will be able to go to your local drugstore or beauty store and pick out the best products for you and your skin, but there’s another option as well: an acne system. Acne systems come with all of the products you need to build an acne-fighting routine that really works, and they come in one package at the click of a button. Instead of going through the trouble of building your own routine, why not use one that’s been tried and tested? As long as it includes these three essential skincare steps, it is sure to improve your acne.
Step One: Cleanse
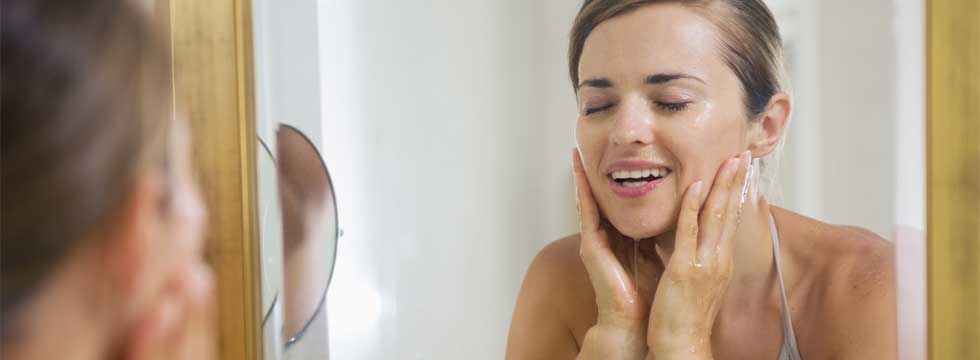
In order to properly treat your acne, it’s important to gently but thoroughly cleanse your skin.
Cleansing the skin is one of the most important steps in your skincare routine because it clears the way for the next two steps to be as effective as possible.
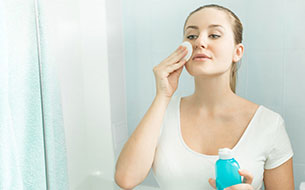
When it comes to cleansing, there are two basic options: a single-cleanse or a double-cleanse. If you wear makeup most days, we recommend the double-cleanse. When you double-cleanse, you cleanse twice, once to remove the makeup and once to remove the oil used to remove the makeup. You’ll want to use an oil-based cleanser the first time around because the oil helps dissolve the makeup and gently remove it from your skin without causing any damage. The second time around, we recommend a mild chemical exfoliant cleanser, like 0.5% salicylic acid or 5% glycolic acid. If you aren’t a big makeup person and you like to keep things simple, the single-cleanse is probably a better option. Just stick with the mild exfoliant cleanser and skip the oil-cleansing step.
If you have particularly sensitive skin, make sure to avoid cleansers with alcohol, sodium lauryl sulfate, or fragrances as they are common irritants that could cause you to break out even more. If your skin is super dry, you might want to look for a cleanser that contains glycerin, ceramides, shea butter, or other hydrating ingredients to keep your skin from getting even more dried out. Finally, be sure to apply the cleanser to your skin for a full minute before rinsing it away. This gives the oil time to dissolve the makeup, and the exfoliant time to break down excess oil and dead skin cells that could be clogging your pores. If you rinse your facewash away too quickly, it won’t have done you much good.
Step Two: Treat

Many people think the treatment step is the only one that matters, but if you want to prevent acne from forming in the first place, the other steps in this process are vital as well.
Once your face has been cleansed, it’s time to treat the acne you currently have.
If you have particularly oily, loose skin, part of the treatment step may include a toner. Toners are astringent products and their primary function is to absorb excess oil and reduce the size of the pores to prevent oil and dead skin cells from getting trapped in them. These are largely unnecessary for those with dry or tight skin, and no matter how oily your skin is or how big your pores are, we strongly advise against using toners with alcohol as the main ingredient. These are typically too drying for even the oiliest of skin, and will likely result in inflammation and increased acne.
The treatment step that everyone with acne requires, regardless of skin type, is an acne treatment cream or gel. There are countless active ingredients to choose from, but some of the most popular are benzoyl peroxide, tea tree oil, retinoids, and salicylic acid. Yes, we recommend using salicylic acid in the cleansing step, but for people who primarily deal with whiteheads and rough skin texture, it can be helpful to use it again in the treatment stage, but this time at a slightly higher concentration, like 1-2%. If you deal with pimples, benzoyl peroxide or tea tree oil are probably a better option, as they are both known for their ability to kill the acne-causing bacteria that create pimples. Retinoids are great for mature skin because they can help prevent wrinkles while they fight acne by regulating the skin cell production process. Most retinoids require a visit to the doctor’s office, but one, adapalene, can be found in a few over-the-counter products like Differin or ProactivMD.
Step Three: Moisturize
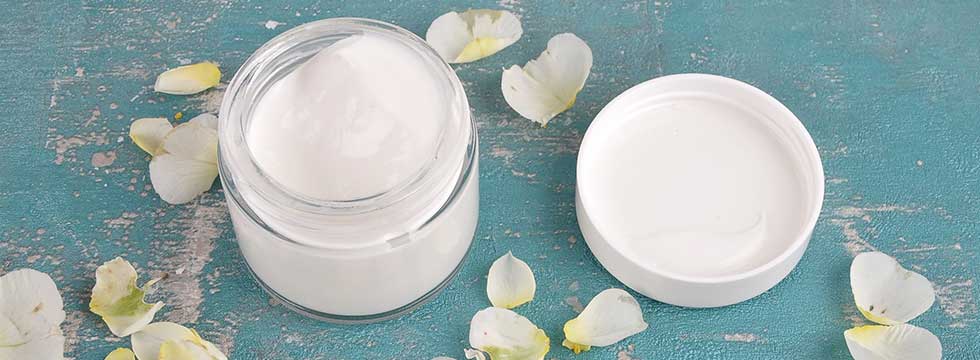
Moisturizer is the most oft-overlooked step in the perfect skincare routine, but it is absolutely vital to maintaining healthy, acne-free skin.
If you have oily skin, you might be thinking that there’s no way this step applies to you. After all, your skin already produces plenty of oil to moisturize itself, right? Wrong. Everyone, regardless of skin type, needs to moisturize if they want to get clear skin. Moisturizing is all about improving your natural skin barrier to prevent inflammation, which in turn helps prevent acne. The treatment step is vital for getting rid of acne you already have, but if you want to prevent future acne from forming, then the moisturizing step is the most important.
If you have oily skin, there are ways to moisturize without making your skin incredibly shiny or greasy. Simply look for products without comedogenic ingredients. “Comedogenic” means “pore-clogging” and most skincare ingredients are rated on a scale from 0 to 5, with 0 being the least likely to clog your pores and 5 being almost guaranteed to clog your pores. Simply look up the ingredients in a potential moisturizer before purchasing and make sure every ingredient is listed as a 2 or lower. Hemp seed oil, jojoba oil, and petrolatum are all great options for keeping your skin moisturized without increasing oiliness.
If you have dry skin, you may be able to go a little higher on the comedogenicity scale, but not much. We recommend still staying at a 3 or lower. You probably already know how important it is to keep your skin moisturized to prevent that uncomfortable tight feeling or even flaking, peeling skin, but the question is, which ingredients do the trick? We recommend trying out shea butter, beeswax, and green tea to help hydrate and soothe your skin.
